
Quick Answer
Table of Contents
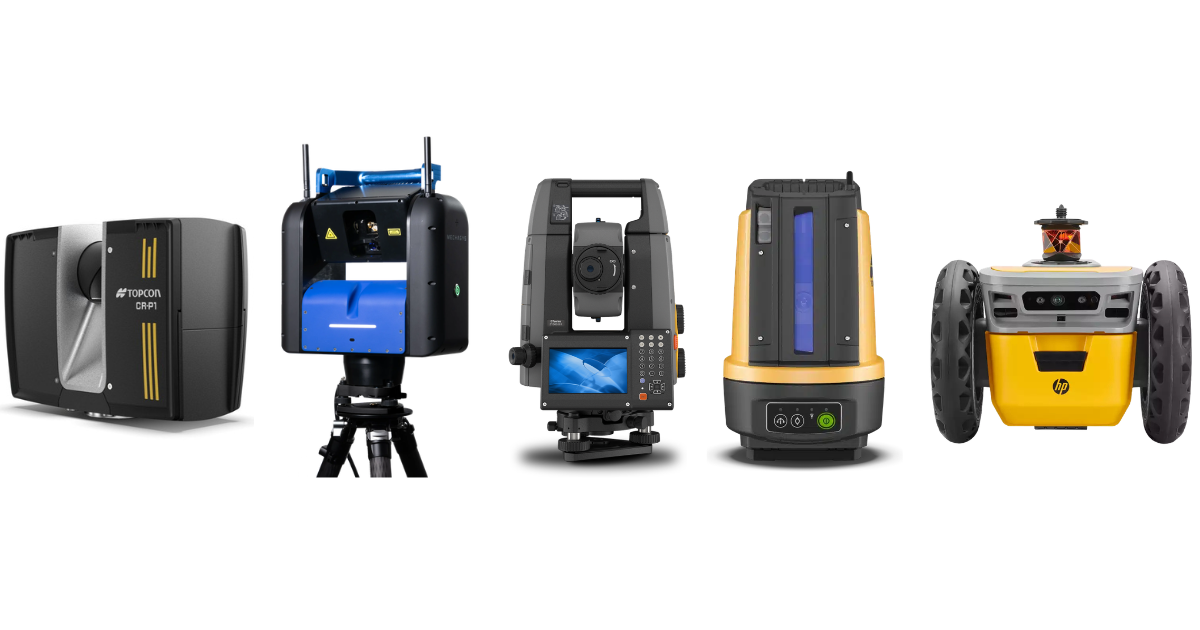
- The MEP Layout Tool Stack at a Glance
- Robotic Total Stations and 3D Layout Navigators
- Laser Projectors
- Layout Printing Robots
- 3D Laser Scanners for QC and As-Builts
- Traditional Lasers and Hand Tools
- How Top MEP Contractors Combine These Tools
- Which Tools Should Your MEP Crew Start With
- Frequently Asked Questions
- Final Thoughts
The MEP Layout Tool Stack at a Glance
| Tool Category | What it does for MEP | Best for |
|---|---|---|
| Robotic total station | Marks design points from coordinates, one operator | Hangers, sleeves, equipment pads, any range |
| 3D layout navigator | Simplified one-button point layout | Fast interior MEP layout, no survey skill |
| Laser projector | Projects the full drawing at 1:1, no marking | Dense ceilings, MEP rough-ins, complex geometry |
| Layout printing robot | Prints multi-trade layout on the slab | High-volume floor layout, multi-trade coordination |
| 3D laser scanner | Captures as-built reality as a point cloud | QC, clash checks, prefab verification, as-builts |
| Traditional lasers | Levels, points, plumb lines | Quick tasks, transfers, everyday checks |
Robotic Total Stations and 3D Layout Navigators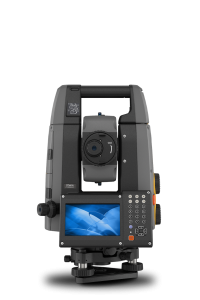
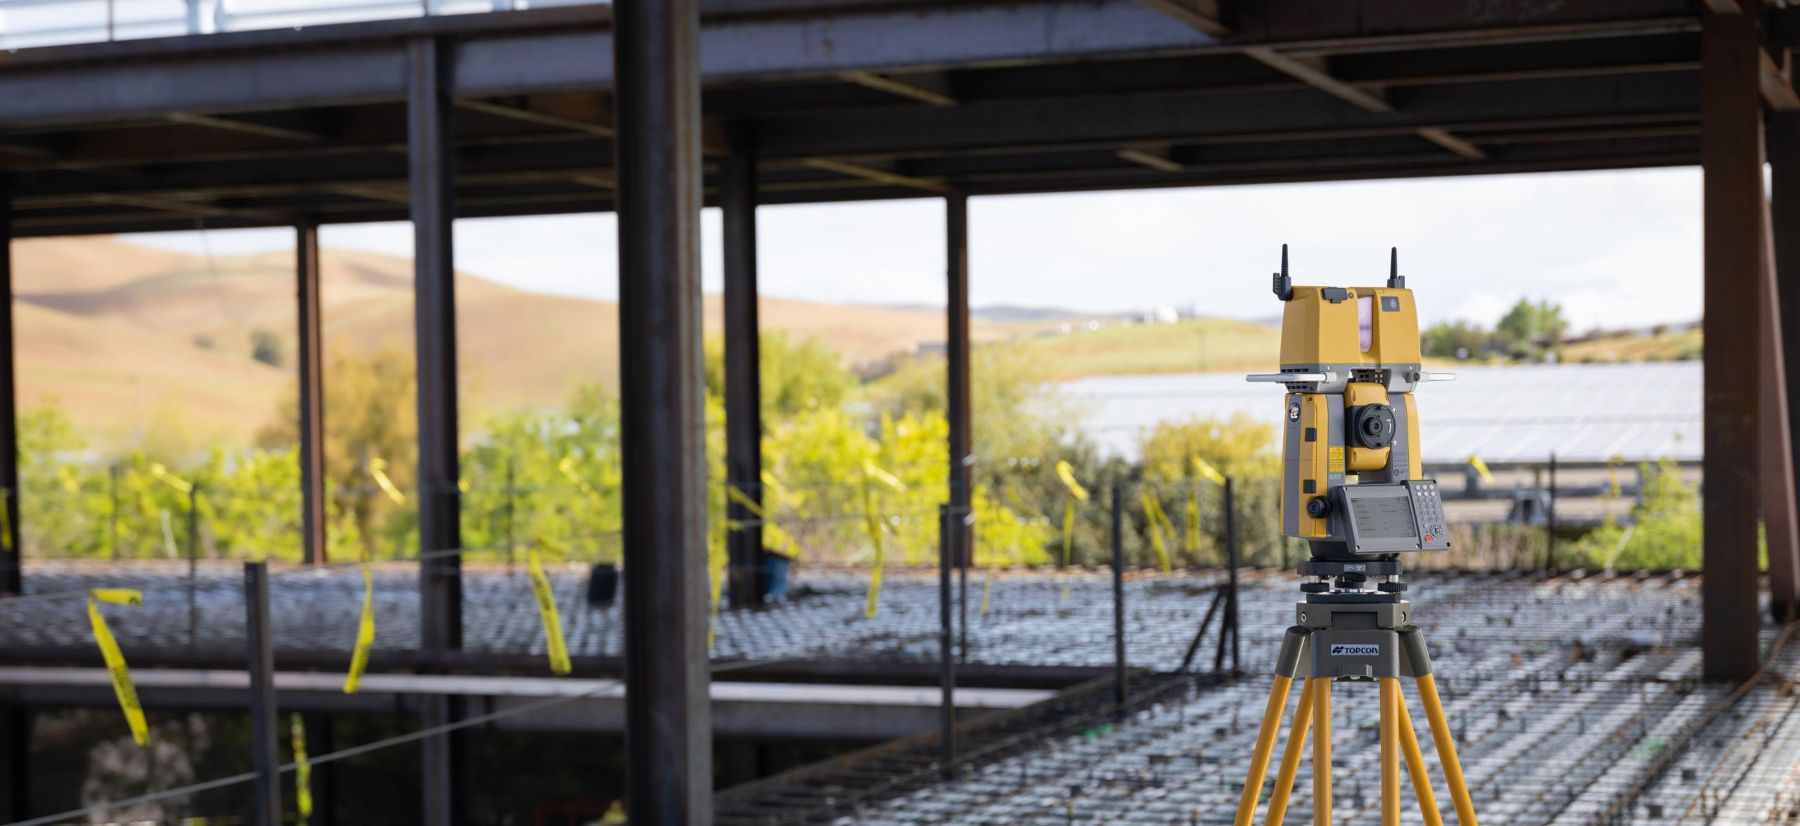
This is the backbone of modern MEP layout. A robotic total station takes design points straight from the DWG, DXF, or BIM model and lets one operator lay out hangers, pipe sleeves, conduit runs, and equipment pads to about 1/16 inch, working from the prism pole while the instrument tracks them. It replaces the two-person tape-and-string crew and runs 4 to 5 times faster.
For most interior MEP work, a 3D layout navigator like the Topcon LN series is the easiest entry point: one-button self-leveling, no surveying background, a 426ft working range, and a wide vertical range for overhead and multi-story decking. For larger commercial and industrial sites that need long range, exterior reach, or GNSS hybrid positioning, the Topcon GT series steps up. We cover this category in depth in our guide to robotic total station layout for MEP contractors.
Laser Projectors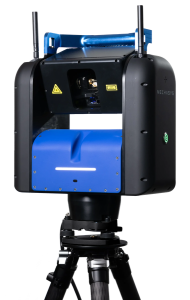
Where point layout marks one location at a time, a laser projector projects the entire drawing onto the floor, walls, or ceiling at full 1:1 scale, so the crew can mark or simply install directly on the projection. For MEP, that is transformative on dense, repetitive, or complex work: ceiling grids, hanger arrays, duct centerlines, and rough-in patterns appear in place at once, and multiple trades can work from the same projection. Instead of marking each point individually, every point for a given area is displayed simultaneously. Additionally the projector can help MEP contractors visualize ductwork, conduit runs, and more, so you can see if the layout is going to work before installing or marking. The Mechasys XR projects 2D and 3D plans to better than 1/8in on surfaces without leaving a mark, which is ideal for layout over final finishes. See our full breakdown of laser projector vs. robotic total station for when each wins.
Layout Printing Robots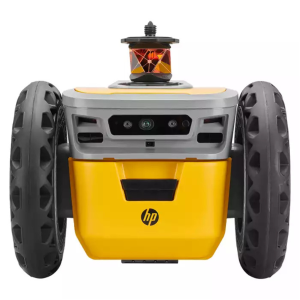
A layout printing robot like HP SitePrint drives the coordinated model onto the slab as printed lines, text, and symbols, marking full multi-trade layout in a single autonomous pass. For MEP, it puts sleeve locations, hanger points, equipment footprints, and coordinated penetrations on the deck fast and legibly, so installers and other trades all build from the same printed reference. It is positioned by a robotic total station, so it folds into the same layout ecosystem. Our comparison of HP SitePrint vs. Dusty Robotics covers the printing-robot category in detail.
3D Laser Scanners for QC, As-Builts, and Prefab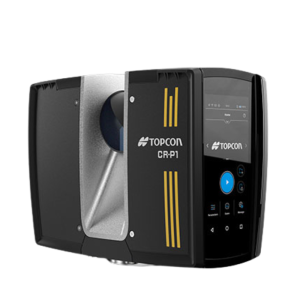
Top MEP contractors do not just lay out, they verify. 3D laser scanners capture the as-built condition as a dense point cloud, which crews use to confirm hangers and sleeves landed on the model, check existing conditions before prefab, and document the installed work for the record. Scanning closes the loop: lay out from the model, install, then scan to prove the install matches. Options range from fast handheld and mobile SLAM scanners for walking a space to terrestrial scanners and scanning total stations for high-density capture.
Traditional Lasers and Hand Tools
Digital layout has not killed the basics. Rotary levels, line lasers, plumb and point lasers, and good measuring tools still handle quick transfers, elevation checks, plumbing a riser, and the dozens of small daily tasks that do not justify setting up an instrument. The best crews use them alongside their digital tools, not instead of them.
How Top MEP Contractors Combine These Tools
The contractors getting the most out of layout do not pick one tool. They build a stack and use each where it is strongest. A typical high-performing MEP workflow looks like this:
- Establish control: set accurate control points and lines across the building with a robotic total station or navigator. Sometimes this step is already done by the general contractor or surveyor.
- Execute detailed layout: use a laser projector or layout printing robot to put dense interior layout in place fast, working inside that control.
- Handle range and exterior: use the total station for anything outdoors such as undergrounds, risers, and general site layout.
- Verify and document: scan the installed work to confirm it matches the model and capture as-builts for the record.
Every step pulls from the same coordinated model, so the design intent carries cleanly from the trailer to the deck and back to QC.
Which Tools Should Your MEP Crew Start With?
If you are starting from manual layout, the highest-return first move is point layout. A 3D layout navigator gives a smaller crew one-person, no-survey-skill layout that pays for itself within a couple projects through reduced rework and labor. From there, add a laser projector or printing robot when your interior layout volume and complexity justify executing whole areas at once, and add scanning when QC, prefab, and as-built documentation become priorities. The right sequence depends on your project mix, and it is a short conversation worth having before you buy.
Build Your MEP Layout Toolkit
Site Precision carries the full MEP layout stack: robotic total stations, layout navigators, the Mechasys XR projector, HP SitePrint, and 3D scanners, with training, service, and loaners behind all of it. We will look at your project mix and recommend what to add first, with no pressure to buy the whole stack at once. Schedule a hands-on MEP layout demo at your jobsite or our showroom.
Frequently Asked Questions
There is no single best tool. Most MEP crews start with a 3D layout navigator or robotic total station for point layout of hangers and sleeves, then add a laser projector or layout printing robot for dense interior work and a 3D scanner for QC. The best tool depends on your project mix and layout volume.
Yes. Robotic total stations and 3D layout navigators are the backbone and have become standard for modern MEP layout. They pull points straight from the BIM model and let one operator lay out hangers, sleeves, and equipment to about 1/16 inch, replacing the two-person tape-and-string crew and running several times faster.
A layout printing robot drives across the slab and prints the layout as physical lines and text. A laser projector beams the drawing onto floors, walls, or ceilings so the crew can install on the projection with no marking. The robot leaves a permanent mark on the floor; the projector leaves no mark and can work on finished surfaces and overhead.
Most use a robotic total station or 3D layout navigator. The operator imports the coordinated model, and the instrument guides them to each hanger or sleeve location to about 1/16 inch, one person working from a prism pole. For dense overhead arrays, a laser projector can show the whole hanger pattern at once.
Increasingly, yes. MEP contractors scan to verify that installed hangers, sleeves, and equipment match the model, to capture existing conditions before prefabrication, and to produce as-built documentation. Scanning closes the loop between the design model and what actually got built.
A 3D layout navigator is usually the best first investment for a small crew. It enables one-person, high-accuracy point layout with no surveying background and typically pays for itself within a couple projects through reduced rework and labor. Projectors, printing robots, and scanners come later as volume and complexity grow.
Final Thoughts
Top MEP contractors do not rely on one tool, they build a stack: a robotic total station or 3D layout navigator for point layout and control, a laser projector or printing robot for dense interior execution, a 3D scanner for QC and as-builts, and traditional lasers for everyday tasks. The advantage comes from using each where it is strongest and feeding all of them from the same coordinated model. Start with point layout, add capability as your project mix demands, and you turn layout from a labor bottleneck into a margin protector.